Introduction
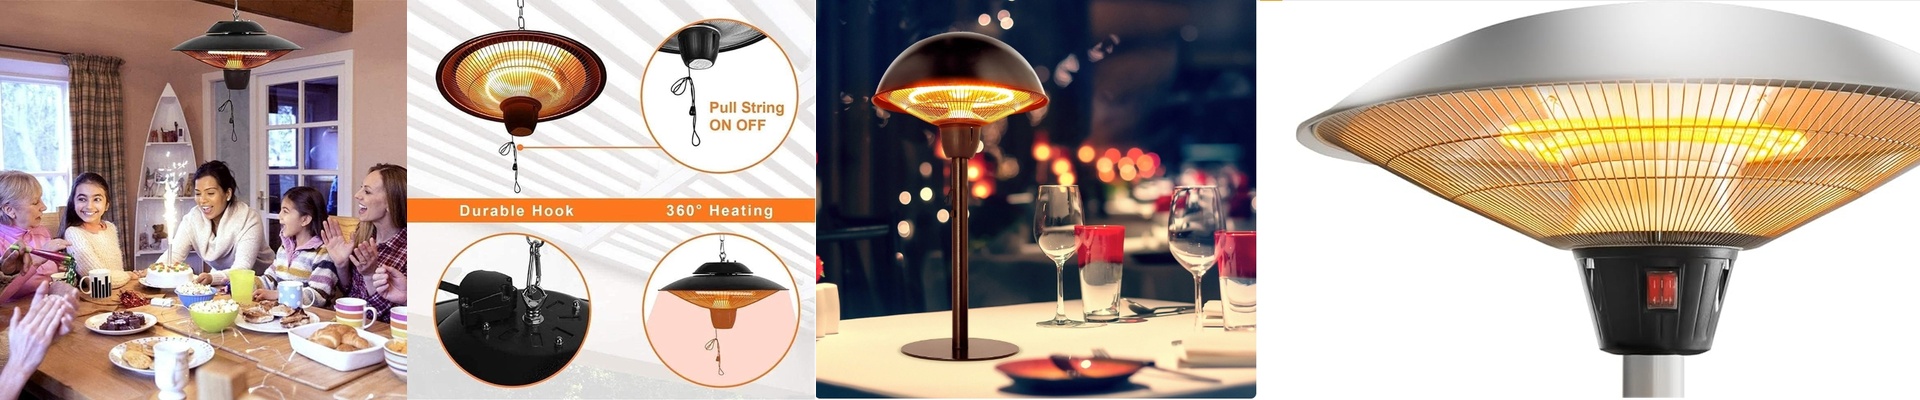
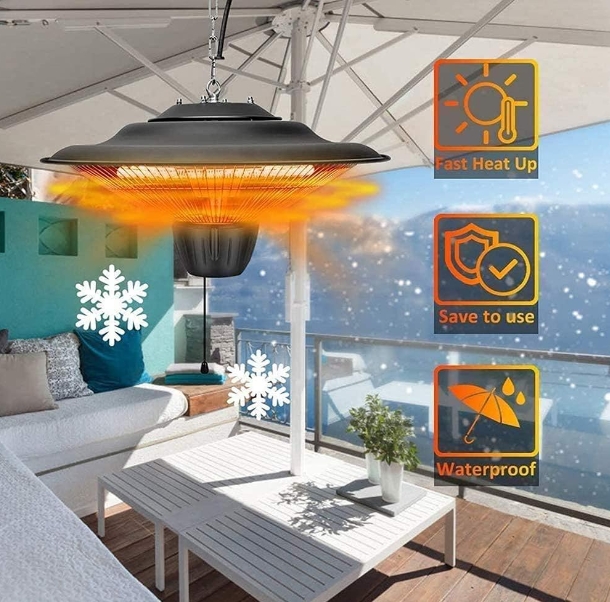
We built these desktop infrared heaters for one simple reason: to warm the person, not the whole room. Instead of pushing out hot air that rises and disappears, they send out radiant heat that goes straight to work—warming you, your tools, your immediate workspace. It’s direct. It’s focused. And honestly, it feels a lot more natural once you experience it.
Here’s how the power and placement work
These units plug right into a standard outlet, but they punch way above their weight. The magic is line-of-sight. Heat travels straight from the heater to whatever’s in its path. And that brings us to the big rule:distance matters.A lot. If you cut the distance in half, the heat intensity doesn’t just double—it quadruples. So where you mount the heater isn’t just a detail. It’s the difference between perfect warmth and a spot that’s either too hot or not hot enough. For most desktop setups, aim for a mounting height around60 to 80 cm. That sweet spot gives you even coverage without hot spots that could make you uncomfortable or risk damaging nearby gear.
What’s inside: the halogen core
Inside, we use a halogen-filled quartz tube. It’s tough, and it’s built for the kind of heat that makes a real difference. The filament can run hot, which is exactly what you want for that short-wave infrared warmth. The quartz handles the shock of turning on and off quickly. And the halogen gas does something pretty smart: it recycles the filament material, which helps the lamp last longer and keeps the output steady. So you getinstant heat—no waiting around for coils to warm up. Flip it on, and you feel it right away.
Getting the most out of it: aim it right
Using this heater is straightforward, but the details matter. Mount it at the right height, then angle it downward between30 and 45 degrees. That way the beam hits your work surface, not the ceiling. You’ll feel the comfort exactly where you need it, and you won’t be heating empty space. Now, there is one trade-off: this is concentrated heat. Keep the unitat least 30 cm away from anything flammable. It’s powerful, and it deserves a little respect. When you set it up properly, it becomes more than a heater—it becomes a precision tool for staying warm in your workspace.
Installation: make the height and angle do the work
Height controls the coverage. Too low, and you’ll get a harsh hot spot. Too high, and the energy spreads out and loses its punch. For a desktop unit,60 to 80 cmis the zone. Pair that with a30–45 degree downward tilt, and the beam spreads evenly across your work area. This setup gives you direct warmth the moment you turn it on, and it avoids wasting energy heating air that’s just going to drift away. The hardware is simple, too. TheR7s baseis a solid double-ended connection built for high heat and constant use. It’s the kind of connector you don’t have to worry about when things get busy. We build these heaters to hold up in real work environments, but their performance comes down to setup. Get the height and angle right, and you get steady, targeted heat. Miss it, and you’ll feel it—both in comfort and in wasted energy.
The bottom line
Treat the installation as part of the product. When you nail the mounting, you unlock the heater’s full potential. And before you finish, do one last check: confirm your clearances. The heat is intense because it’s effective, and that means keeping the area clear. Measure twice. Mount once. Because the whole point is simple: direct heat, right where you want it, exactly when you need it. Put the heater in the right spot, and your workspace stays warm without wasting power on empty air.